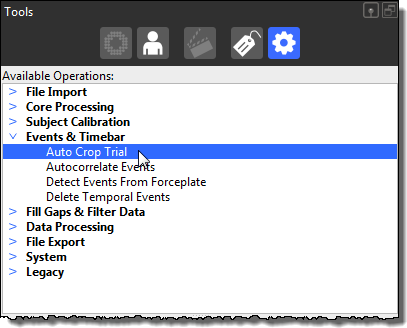
♦ Location: Tools pane > Pipeline tab > Available Operations section > Events & Timebar > Auto Crop Trial
For workflows where the subject starts outside the volume, moves into the volume and then exits, Nexus can save you time by automatically determining the first and last frame where the subject is fully in the volume.
When you run the autocrop operation, Nexus automatically zooms the time region of interest to the points where the subject first fully enters and then leaves the volume.
To set up auto-cropping:
1. Ensure the required trial is reconstructed and labeled.
2. In the Tools pane, click the Pipelines tab and in the Available Operations list, expand Events & Timebar.
3. Double-click the Auto Crop Trial pipeline operation to add it to the current pipeline.
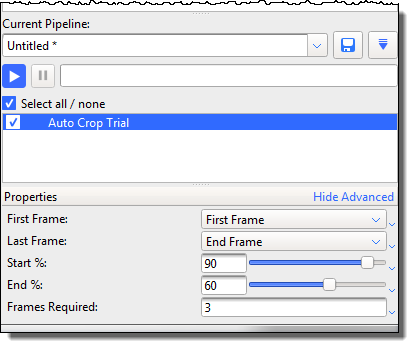
4. In the Current Pipeline list, click Auto Crop Trial and in the Properties pane, ensure that the First and Last Frame options are set to the beginning and end frames during which the subject enters and leaves the volume.
5. Set the Start and End % options to the required minimum percentage of markers (ie, the percentage of markers expected from the total number of markers in your subject’s labeling skeleton) that must be labeled in each case.
If the trial involves multiple subjects, ensure the required subject is selected in the Subjects list at the bottom of the Properties pane.
6. If necessary, adjust the Frames Required to set a minimum number of frames where the Start % criterion must be met. This is helpful if early single frames of data meet the %, but the point at which the trial is intended to start (ie, the point at which the % is maintained over a number of frames) is later in the trial.
7. Run the Auto Crop Trial operation.
The trial is automatically cropped to the frames you have selected.