
 |
Manually connect data
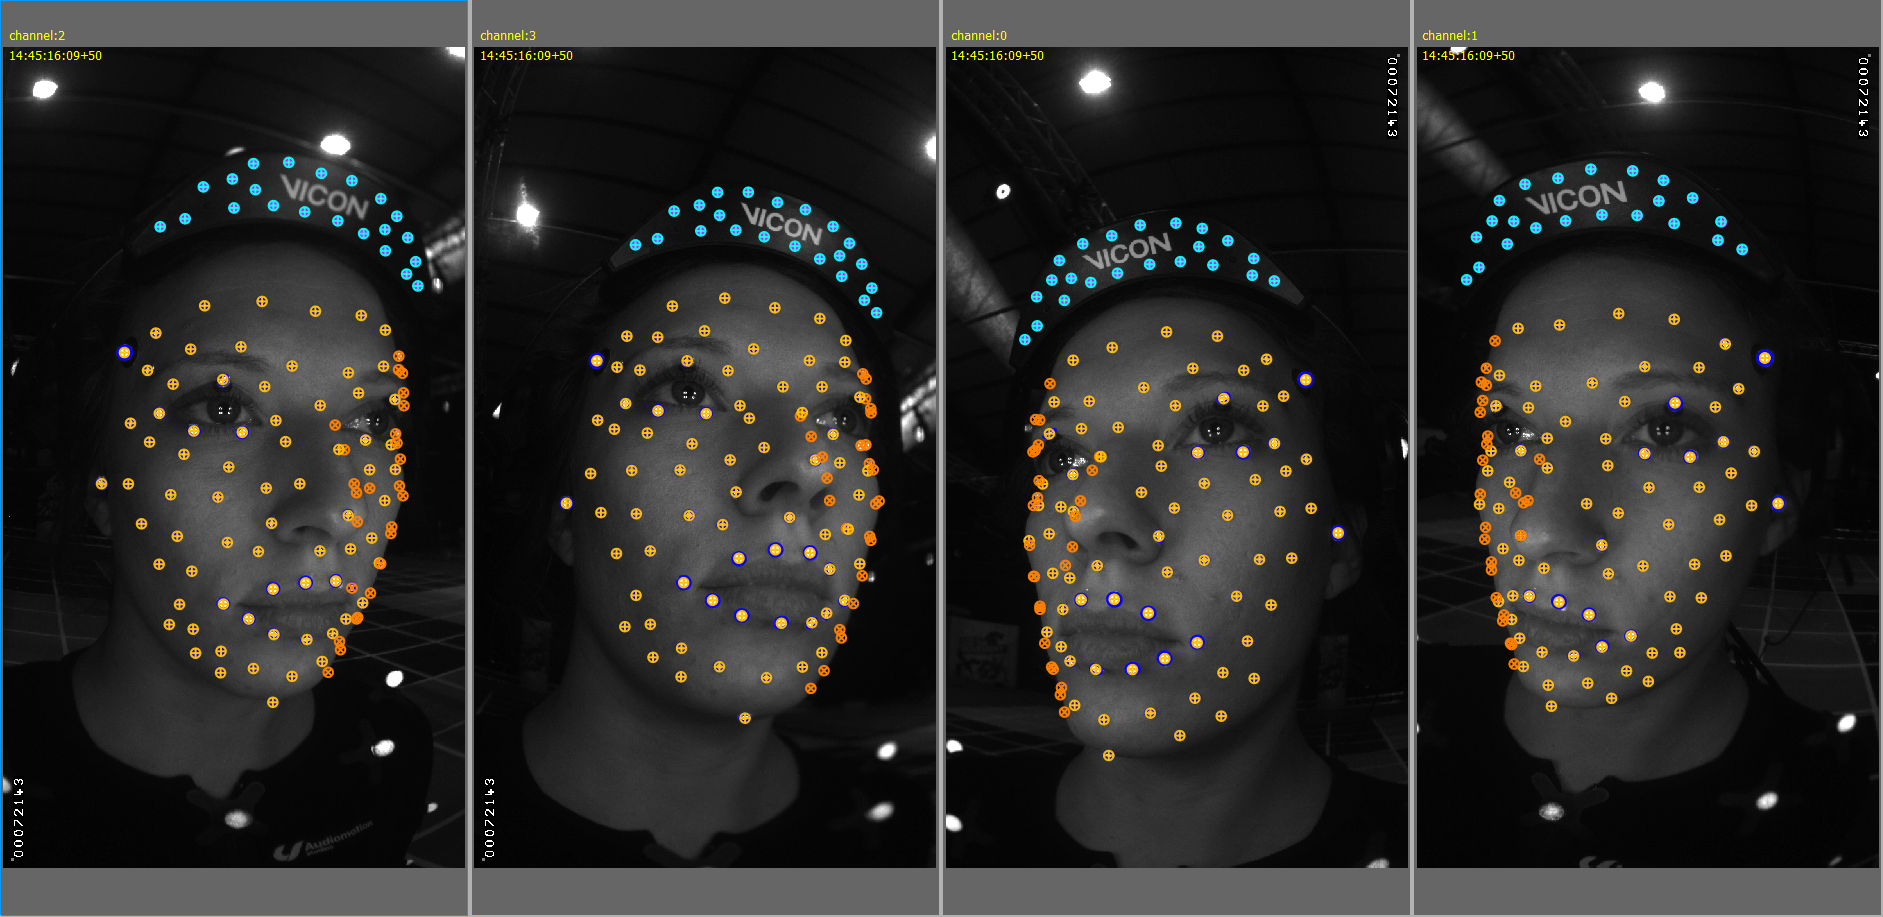
When you have reconstructed the markers, notice that there are both yellow and orange projections. The significance of these colors is:
❙ Yellow projections Have an associated detection in that camera view
❙ Orange points Do not have an associated detection in that camera view
You can merge some of these points to use all the available data. However, you should normally ignore partially obscured or very elliptical detections on the far side of the face as they may not track very well and can cause noisy 3D data.
You may need to merge the points manually in the following situations:
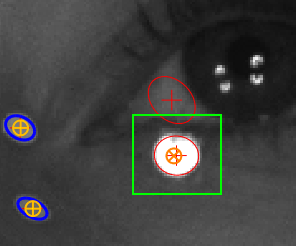
❙ When Vicon CaraPost has not connected an orange projection to a red detection, as shown in the following example from channel 1, frame 0 of the ROM take:

To fix this:
a. Drag-select both the red detection and the orange projection:
b. Press M.
The orange (disconnected) marker goes yellow, and the red detection becomes blue, indicating that the detection is now connected to a 3D marker point.
❙ When both an orange (unconnected) point and a yellow (connected) projection is displayed, as shown in the following example:
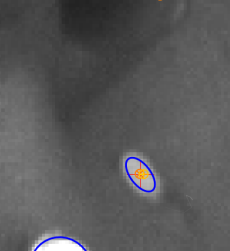
This happens when the same marker has been paired twice instead of in all available camera views or when an incorrect detection has been associated with a point on the face.
To fix an example of incorrect detection:
a. In channel 3, select the detection under the left nostril.
b. On the Edit menu, click Detach Detections [Current Frame] (or press CTRL+H).
The detection is removed from channel 3.
c. In channel 3, drag+select the correct upper left lip marker and press M to merge the correct detection.
d. Repeat this process for the same marker in channels 3 and 2.
❙ When the marker detections in different camera views haven't been connected by the Initialize 3D process, as shown in the following example from channel 1 in the ROM example:
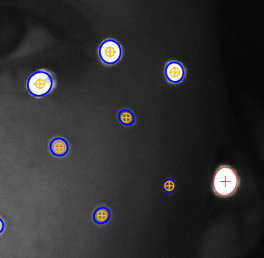
To fix this, select the relevant marker detections in channel 0 and 1 of the ROM take by CTRL+clicking the unmatched detections, and then press M.
❙ When unwanted detections are found on features on the face, as shown in the following example:
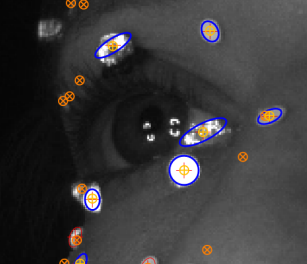
To delete the bad detection on the left eye, select the detection and on the Edit menu, click Delete Selected or press CTRL+D.
When you have finished adding extra information, you must refine the camera positions and reconstructions.
To refine the camera positions and reconstructions:
♦ On the Process menu click Bundle Current Frame [Unconstrained].
To check the quality of the reconstructions, look at the yellow error lines and also look again in the 3D view for erroneous reconstructions. If you are working with the ROM take, your final initialized file will look similar to this:
After you have finished initialization, you may find it helpful to label the markers, to enable you to identify them more easily and/or to create a mesh, to help you spot tracking errors. For information on these additional steps, see: